Map & Wiki

Bite by Night map guide

Practical routes for Pizzeria, Warehouse, and The Forest, Lobby preparation, and a clearly labeled upcoming-map watch.

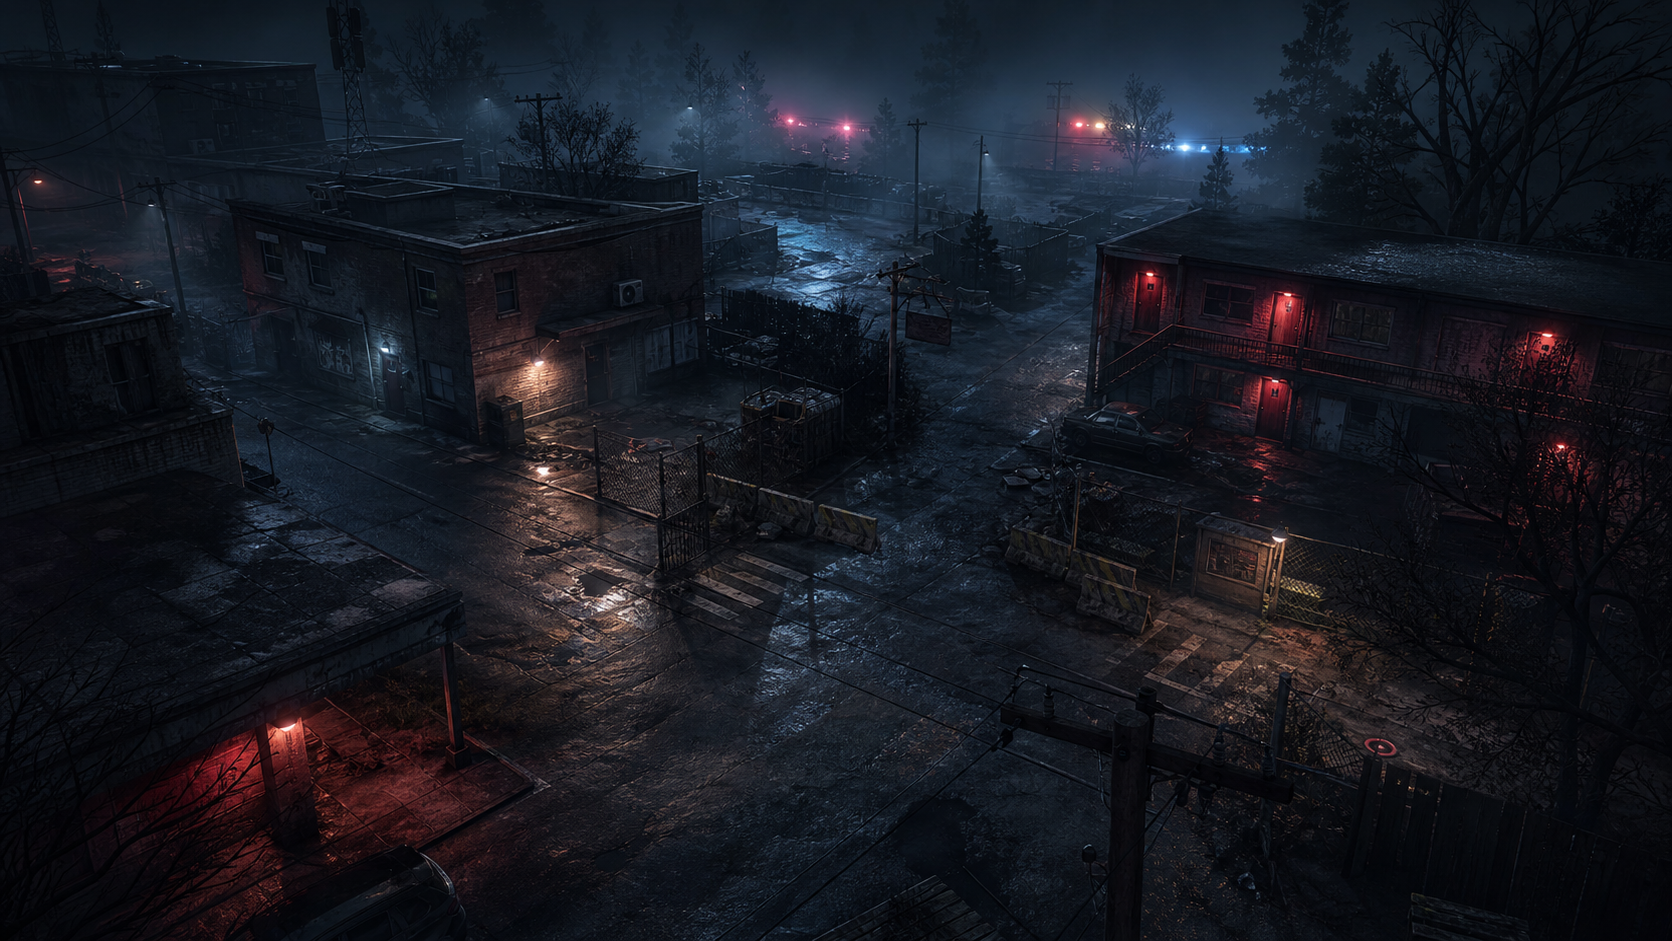
bite by night map route guide illustration

Current and upcoming map list

Map roster

Four maps are documented as current; Monroe's Costume Emporium is documented as upcoming.

Use the exact map names for search and team callouts so guide pages remain easy to scan.

Do not describe Costume Emporium routes as playable until the map releases.

LobbyPizzeriaWarehouseThe Forest

Generator, camera, and rescue routes

Map flow

Plan a primary objective route, a support angle, and a fallback loop before the killer collapses the area.

Security Guard camera information is most useful when the team already has short landmark names for each route.

Avoid sending every survivor to the same objective; keep enough spacing to preserve a rescue or heal angle.

Generator clustersCamera coverageRescue path

Loop and dead-end checklist

Chase planning

Mark where a route reconnects, where it becomes a dead end, and which obstacle Technician can pass through with the V.A.N.N.I. mask.

Never enter a loop without knowing the second exit; the killer only needs to read one repeated turn to collapse it.

Call a route dead before teammates follow you into it, then rotate toward a heal, camera, or control-field setup.

Loop exitsDead endsTechnician routes

Pizzeria route guide

Security Office / 3 exits

Use the Security Office as a stamina-reset loop, but manage its shared power and keep all three exits in mind.

The office doors and hall lights drain a finite power bar. Close a door to break pressure, recover, then reopen it instead of exhausting power early.

Use Stage, Entrance, Backstage, Kitchen, Arcade, Playplace, East Hall, and West Hall as short callouts. The three exit choices are Kitchen, Arcade, and Foyer.

Check office approaches for The Rotten's Beartraps before committing to the strongest loop.

East and West HallPlayplace and ArcadePower discipline

Warehouse route guide

One exit / tight halls

A tight-corner map with one exit and a Bulkhead route between Scooper and Main that opens at 5:00 AM.

Call Main, Cargo Bay, Laboratory, Endo Room, Catwalk, Sidepath, Ramp, and Scooper so the single-exit plan is clear before endgame.

Tight corners reward early information but punish blind turns. Preserve a second lane through Catwalk or Sidepath instead of funneling the team into Cargo.

The Rotten commonly traps the bottom of the ramp; scan it before crossing, and remember the Scooper-to-Main Bulkhead opens at 5:00 AM.

Main and CargoCatwalk and Sidepath5:00 AM Bulkhead

The Forest route guide

Open routes / multiple exits

An open, highly loopable map with multiple paths and exits, no battery objectives, and fewer dead ends after its rework.

Use Connector, Long, Ramp, Tents, Cave, Tower, House, and Triple Shed as route calls; distinguish Long Exit from Cave Exit in endgame.

Open lanes make The Rotten's three traps less able to cover every route, but they also let The Project's Speed Leap punish long barricades.

The Forest has no Batteries. Do not waste time searching for that objective type, and do not treat the Lobby as a fourth match map.

Cave and LongRamp and TentsHouse and Triple Shed

Lobby preparation guide

Safe hub

Lobby is the only safe area and a between-round planning hub, not a playable chase map.

Read the player list to see who is next killer and the map display before selecting the class your team still needs.

Use the safe downtime to agree on one rescue role, one information role, and the two most important calls for the shown map.

The arcade and secret room are optional lobby content; they should not distract from the pre-round board when the next match is about to start.

Next killerNext mapClass planning